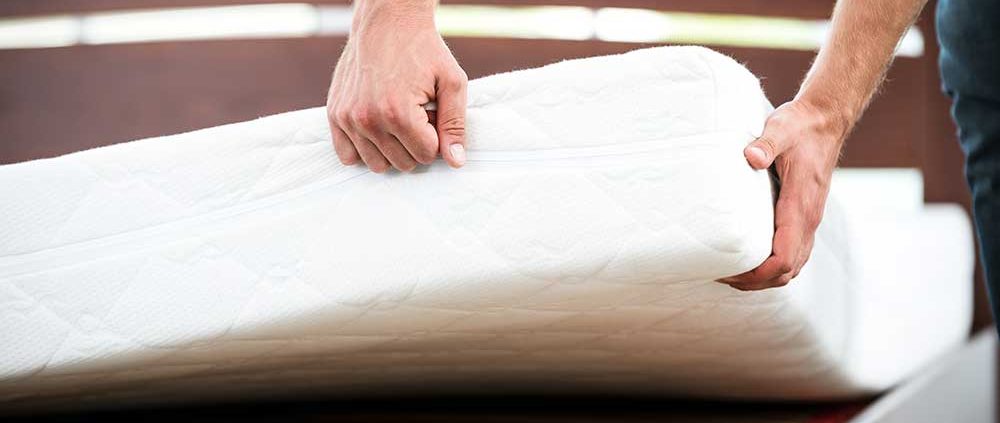
How to glue your DIY Mattress?
What you will need:
- Your pre-cut pieces of foam from our custom cut section
- All-purpose glue from our craft section
- A mattress cover from our Sleep Accessory section
- A protective cover under the foam you are gluing (craft paper, plastic or a tarp.)
Step 1.
- Lay your protective covering down; it must be larger than the mattress to protect your work surface from glue overspray.
Step 2.
- Lay your mattress core on top of the protective cover.
 Step 3.
- Get the next layer you are gluing to the core and put it on top of the core to ensure you have a good fit.
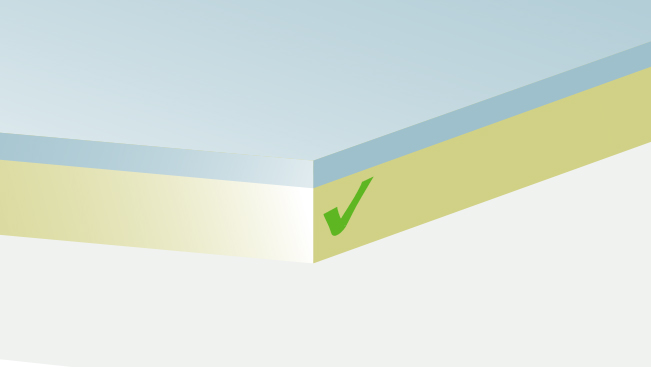
Step 4.
- Spray glue on the perimeter of both the core and the next piece as well as a full X on each piece.

Step 5.
- Lay the glued sides together ensuring they are perfectly lined up so you do not have bulges when you zip you cover on.
Step 6.
- Press the perimeter and the centre of the mattress (laying on it too) to ensure the glue has contact on both sides.
Step 7.
- Provide sufficient time for the glue to dry (minimum 5 min).
Step 8.
- Repeat steps 3-8 if you are adding additional layers.
Step 9.
- Unzip cover, lay the bottom part or the cover down and set the assembled foam mattress on top of it, ensure it is square.
Step 10.
- Let the top side of the cover on square…..zip it together.

Step 11.
- Set the mattress on the suitable foundation (see our foundation section) to support the full mattress.
Step 12.
- Enjoy your sleep!